If you’re like me, you probably have your own preferred export presets that you use in Premiere Pro. The only problem is that these custom presets can get mixed up with all of the generic default presets that come with the software. This can be pretty frustrating because you just want to see the stuff that you made and that you actually use.
Now, if you’ve ever tried to clean things up in the preset manager, you may have noticed that there’s no easy way to remove the system presets. It can be a real pain, but I’ve got a solution that can help you out. Let’s jump into Finder (or Windows Explorer for Windows users) and locate your version of Premiere Pro.

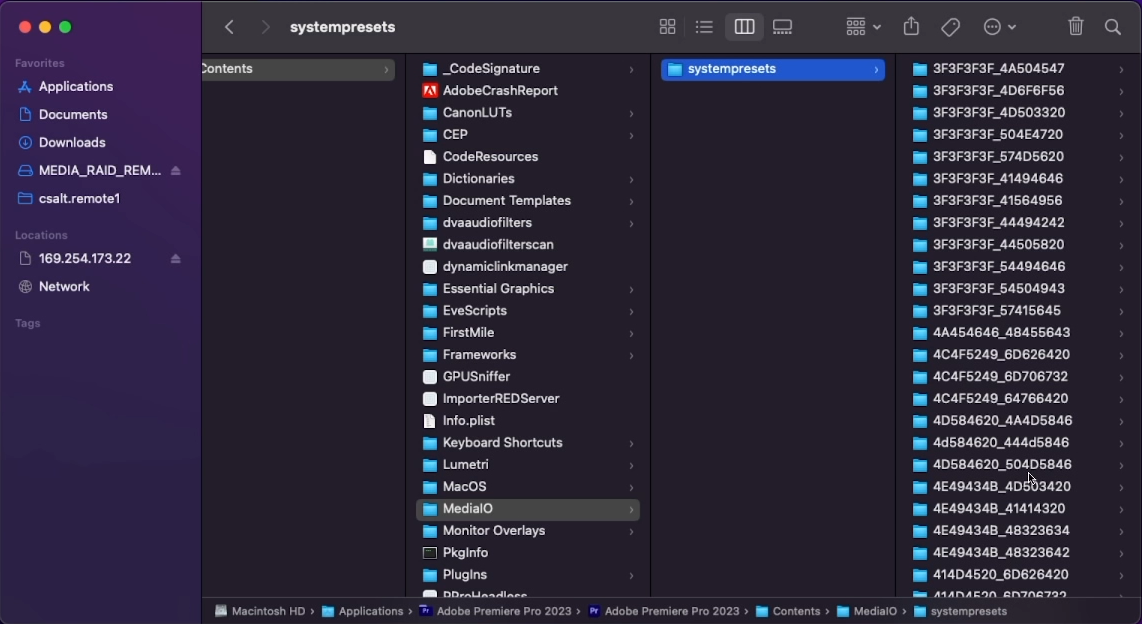
Macintosh HD/Applications/Adobe Premiere Pro 2023/Contents/MediaIO/systempresets
Once you’re there, we’re going to right-click and “Show Package Contents”. From there, we’ll navigate to the Media IO folder and find the folder of System Presets. This folder contains all of the default presets that ship with Premiere Pro.
Now before deleting, I recommend copying the entire folder to your desktop just in case something goes wrong. Once you’ve done that, you can delete the System Preset folder and jump back into Premiere Pro. So now if you go to your export panel and look at your presets, you should only see the presets that you created and all of those default presets are gone!
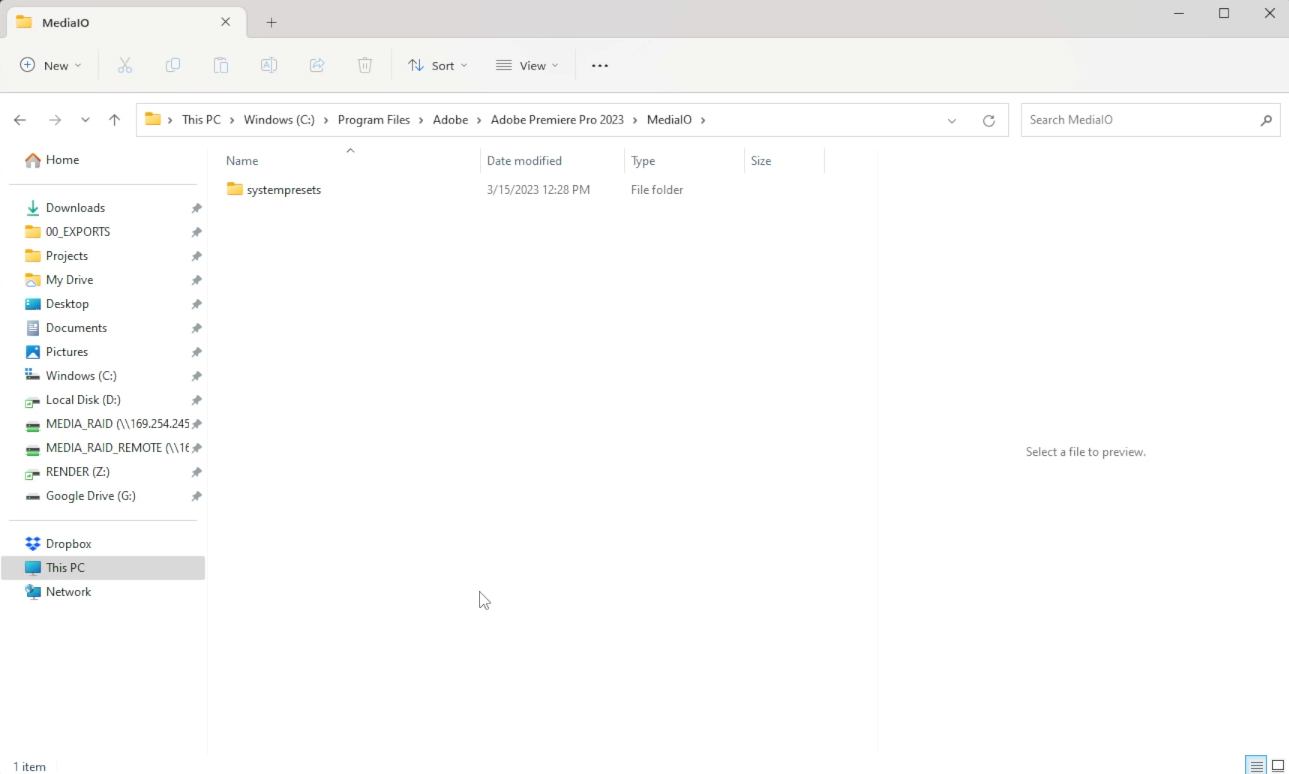
If you’re a Windows user, don’t worry – the process is pretty much the same. Just locate your C drive, go to Program Files, find Adobe and Premiere Pro 2023, and then navigate to the Media IO folder to find the System Presets folder.

C:\Program Files\Adobe\Adobe Premiere Pro 2023\MediaIO\systempresets
I hope this tip helps you clean up your export presets and makes your workflow a little bit smoother. Cheers!

