Editing is great – I mean I’ve made a career out of it, but even then I do get tired of the monotony of some of the repetitive tasks that the job entails. Likely, I’m not alone. Luckily there are smarter people in the world than me and they’re able to solve these headaches more efficiently than I can. With that, I’d like to introduce the innovative minds at Mamoworld.
Mamoworld is a staple in plugin development for Adobe After Effects and Premiere Pro and they’ve released a revolutionary plugin called Automation Blocks that is here to automate the mundane editing tasks that keep you from your creative glory. In this post, we’ll dive into why this tool is a must-have for Premiere Pro editors and how it can transform your editing workflows.
Better Editor teamed up with Mamoworld to develop FOUR custom workflows for speeding up these less-than-thrilling tasks.
Crafting Custom Scripts for Unique Workflows
The true power of Automation Blocks lies in its ability to empower users to create custom scripts tailored to their unique needs by simply snapping blocks of code together and manipulating options. While the vast array of options and settings might seem overwhelming at first, Mathias at Mamoworld has curated a comprehensive playlist of tutorials to guide you through crafting your own scripts and custom workflows.
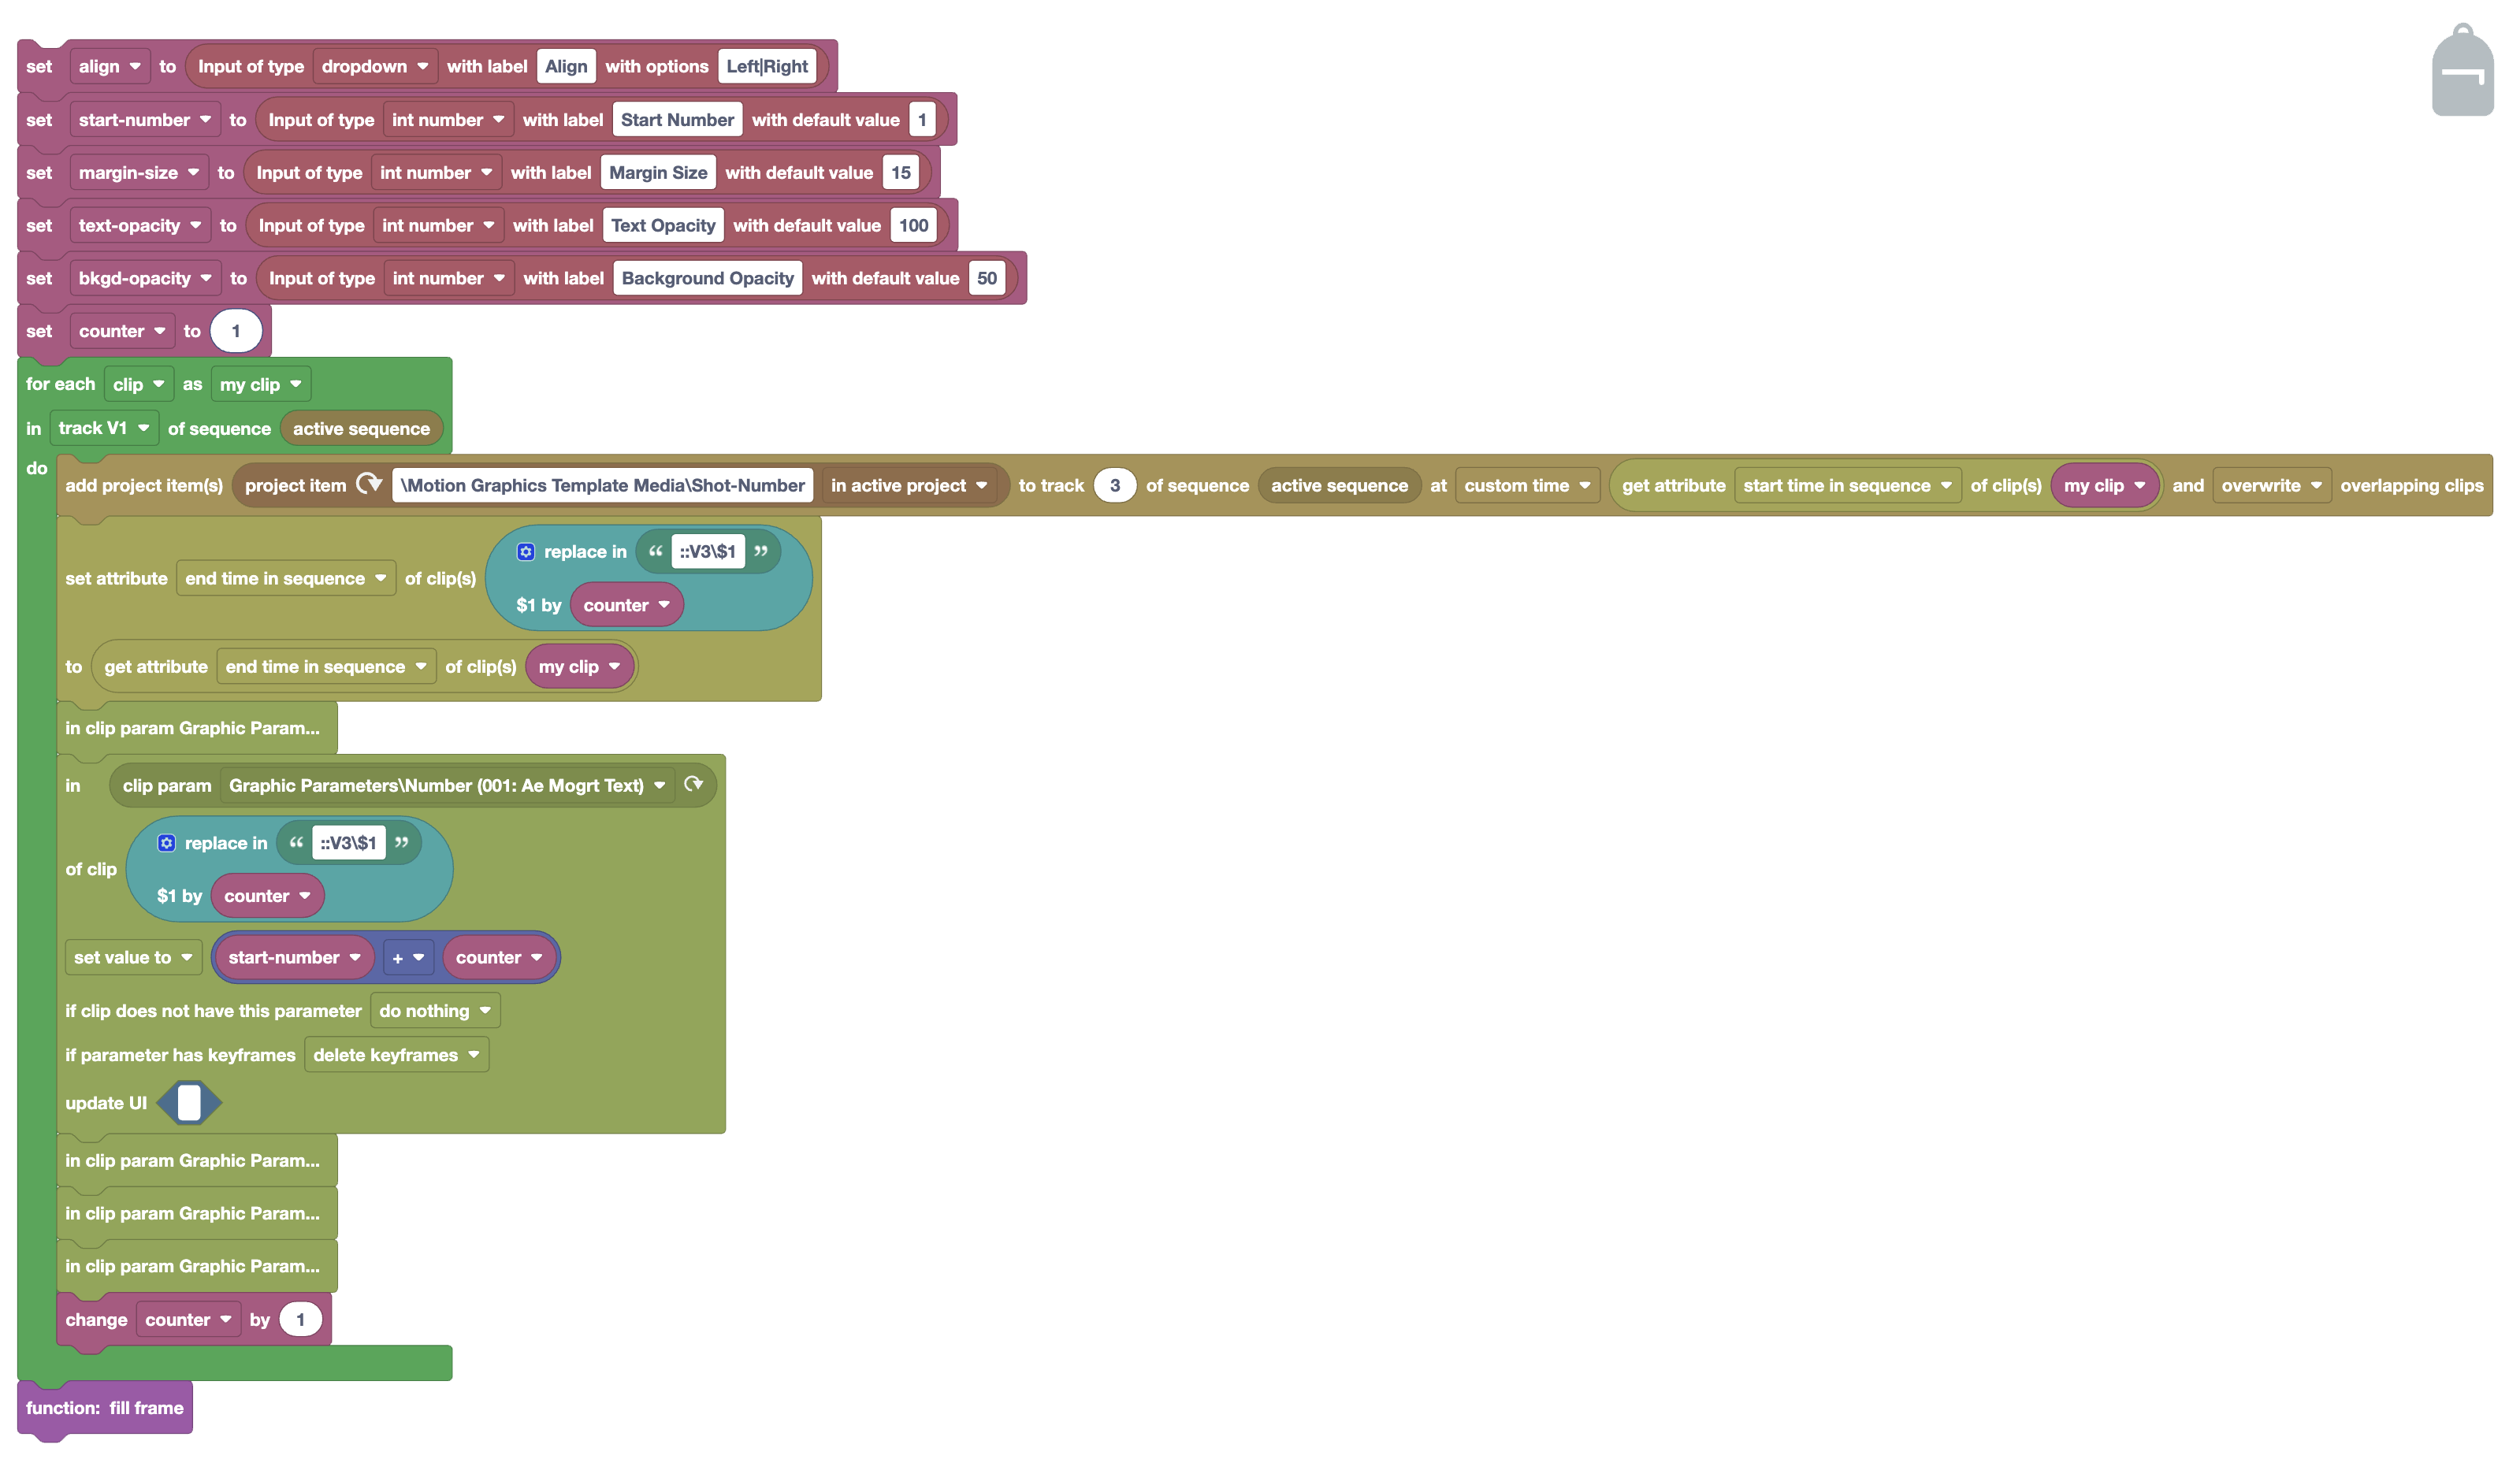
I won’t spend time here discussing how the intricacies of the plugin work because it’s better to learn from the man who made the magic possible (seriously, check out those tutorials). What I will do is share some of the custom automations that I personally use to make my editing chores faster.
Exporting With Bins
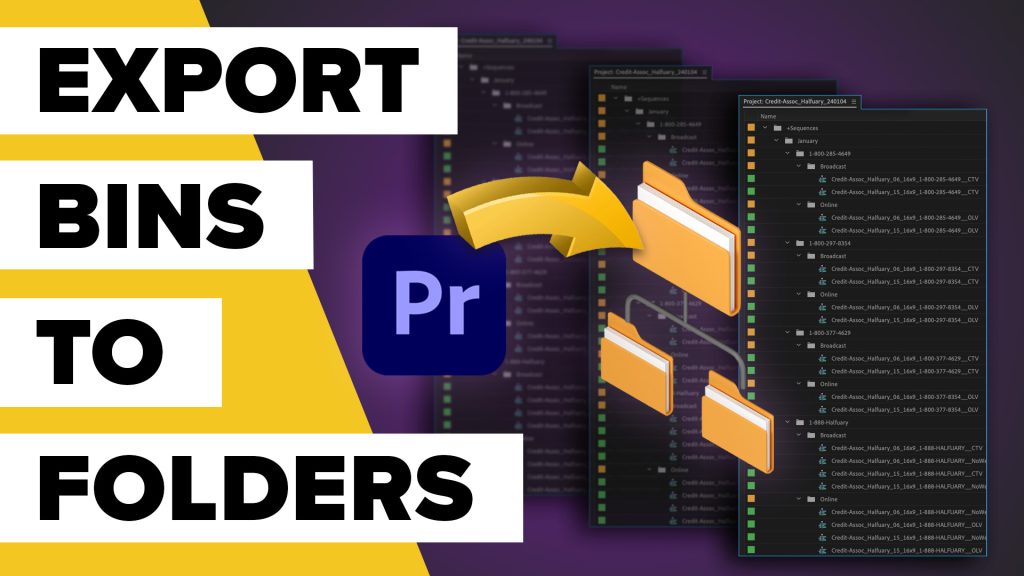
Bins to Folders
I worked together with Mathias to develop a few custom automations for the Better Editor followers. The first of which allows editors to export sequences or clips while keeping their bin structure intact! This is extremely useful if you ever find yourself delivering a mountain of deliverables in various formats or aspect ratios that are neatly organized with bins in your project. Instead of manually recreating folder structures in Finder or Explorer, let Automation Blocks do the heavy lifting for you!
The Export-With-Bins automation has three built in settings, H.264, Prores 422, and Prores 4444. If those don’t work for your particular needs, choose “Custom” and then select your own Media Encoder Preset (.epr). Simply select the sequences or clips you need to export, choose your setting and export location, then click run. A new Media Encoder batch is immediately prepared for you with the destination mirroring your Premiere Pro bin structure.
Building Your User Library
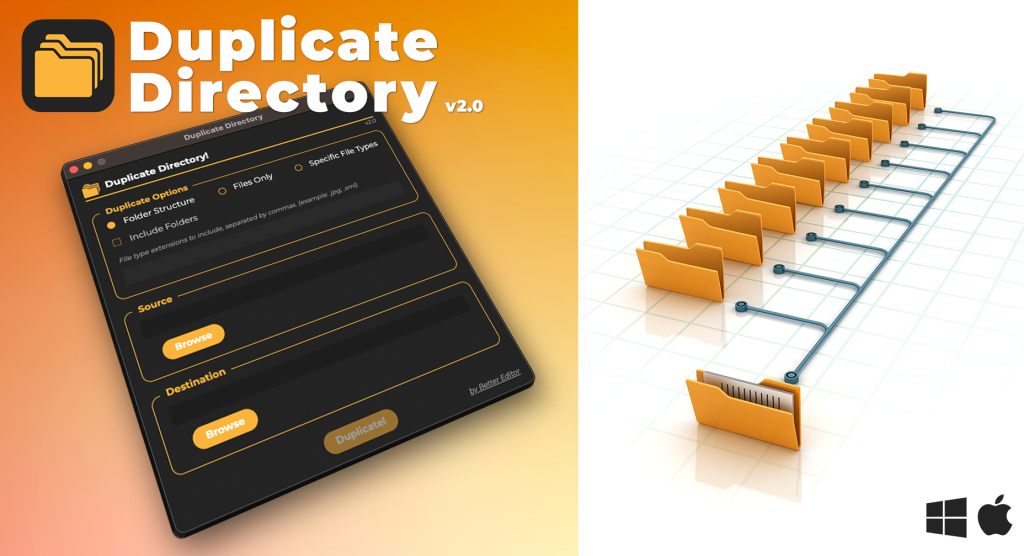
Adding custom automations to your personal library couldn’t be easier. By default Automation Blocks places a folder inside your Documents folder. If you’d like to change that location, head to the Automation Block’s preferences.
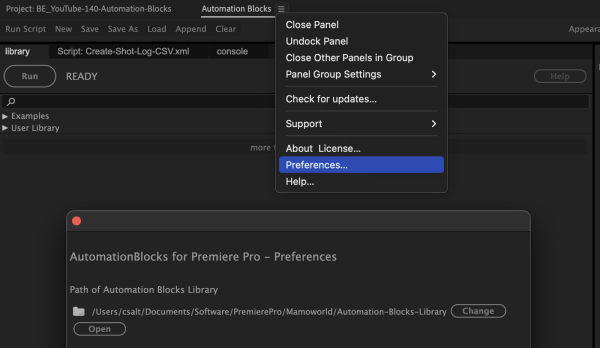
Once the folder is set, simply add the custom .xml files into the specified folder. You may need to close/open the Automation Blocks plugin for them to load inside of Premiere.
Make Shot Logs Fast
Export CSV File from Premiere Pro
This subject isn’t sexy and it isn’t even remotely close to fun: Shot Logs and Music Cue Sheets – painstaking tasks that editors universally find less than thrilling but are a necessary evil to the job. The good news? Mamoworld’s Automation Blocks for Premiere Pro is here to make these tasks not only bearable but surprisingly speedy.
First things first though, you’ll want to clean your sequence as if you’re prepping for finish. That basically means to organize it and clean out the unused clips. Look at my Advanced Workflows course if you’re interested in hearing more.

The Create-Shot-Log-CSV automation is almost too straightforward. Simply select a sequence, select the automation, choose the log type (video & audio, video only, audio only) and click run. Seconds later, your sequence has been conformed into a cleanly formatted CSV file on your desktop with the apt name “Shot-Log.csv”.
Important:
One thing to note is that if you’re creating multiple logs or revising, you need to either rename or delete the “Shot-Log.csv” file each time the automation is run or instead of a new file, additional rows of information will be added to the current file on the desktop.
Thumbnails for Each Clip
Occasionally (or frequently if you’re unlucky) you may be asked to also add thumbnails to a shot log. There are many current workarounds for this from grabbing screenshots to making image sequences of individual frames and so forth. In the end they’re all tedious and time consuming. Lest we not forget that even after we get the images exported, we still must resize them and then add them into the shot log spreadsheet. Yuck.
Now using a combination of Automation Blocks and Permanent Markers, we can make what took hours, into a task that takes minutes.
The first step is running one of these automations: Add-Markers_Clip-Mid or Add-Markers_Clip-Start. The difference is hopefully self explanatory and I personally prefer adding a marker at the middle of each clip. Automation Blocks then adds a marker over each clip in the sequence and names it with the timecode, followed by the clip name – nifty, right?

Batch Export Stills from Premiere Pro
Next up, launch the Permanent Markers extension and choose your settings to have Permanent Markers export a small thumbnail of each individual clip. Make sure to choose “Marker Name” for the name of each exported still.
Once exported you’ll see all of your stills in ascending order by their timecode. This directly corresponds to the shot log when sorted by the “Sequence IN” column.
Important:
Note that if there are multiple markers at the same timecode, you’ll need to remove all but one marker.
This can happen if you’re working in a sequence with clips layered over one another with the same duration. Also Automation Blocks has a similar functionality as Permanent Markers, but I personally think Permanent Marker’s method of exporting the still frames is easier and more flexibile.
Automating Images in Spreadsheets
To add the thumbnails automatically to the shot log spreadsheet, use the methods below:
- Insert Multiple Pictures in Excel at Once
- Insert Multiple Images in Cells with Apple Numbers
- Inset Multiple Images Into Multiple Cells with Google Sheets
It’s also a good idea to check that your thumbnail count and shot-log row count are the same before implementing any of these methods.
Fast Music Cue Sheets?
Run the automation and select “audio” for the log type. You’re done. Seriously. That’s it.
The Shot Numbering Struggle
If you’ve ever dealt with shot numbering, you know the pain. It’s a meticulous process of adding text layers, changing durations, typing, erasing, re-typing, and, until now, Premiere Pro hasn’t exactly offered an efficient solution. Thanks to the magic of Automation Blocks, the dark ages are now behind us!
Sequence Setup
First things first, your sequence needs to be organized in a specific way for the automation to work correctly. All the clips you want to number should be on video track 1. Simple, right? If you want to get extra fancy, you can even add black slugs between each clip on video track 2 so the sequence is easy to navigate AND because Automation Blocks will number only on video track 3.
Mo Mogrts
For this Add-Shot-Numbers automation to work, you’ll need the custom mogrt (download below). Add this to Premiere Pro (here’s how), using the Essential Graphics panel, and then drag it into your sequence. Then delete it from the sequence.
What?
That’s right, it may sound strange, but we only need the “Shot-Number” mogrt in the project inside of the “Motion Graphics Template Media” bin. Automation Blocks will then add it to our sequence on its own.
Important:
If the mogrt name and bin location do not match what is in the tutorial video, this automation will not work.
Adjusting Parameters
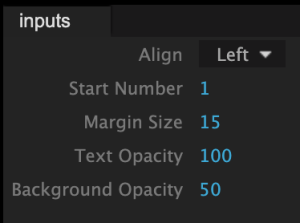 You can play around with the parameters in the settings to find the look that suit your preferences. My suggestion is play with the mogrt settings in the sequence first, establish your look, then use those same settings in the Automation Blocks panel.
Once you’re ready, hit run, and boom baby! Your entire sequence is now neatly numbered. If the automation runs and you don’t see numbers in the sequence, it’s likely a sizing issue. Simply select all of the mogrts in the sequence, right click, and select “Set to Frame Size”.
Alternatively you can run another script in Automation Blocks “Scale Clips to Fit or Fill Frame Size.”
More Customization
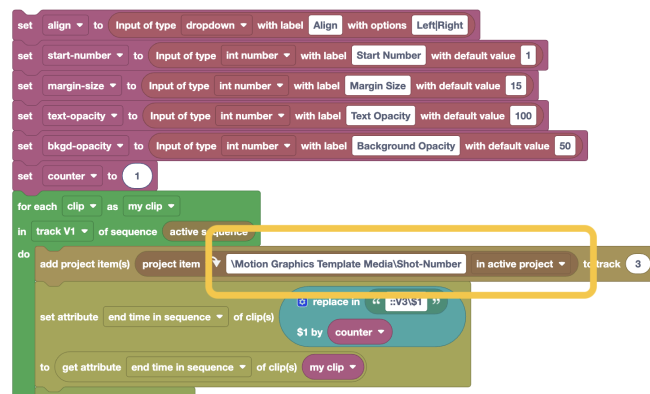
Need to truly adjust the look? You’ll have to modify the mogrt itself and bring it back into Premiere. The After Effects file for the mogrt is included in the downloads below. Remember to ensure that the mogrt’s name matches “Shot-Number” exactly and its bin location matches what is in the tutorial or the automation will not work.
Alternatively, you can adjust the name and bin location within the Automation Blocks’ code:
Batch Export Individual Timeline Clips
How to Export All Sequence Clips
It’s not uncommon to organize footage into select stringouts. Wouldn’t it be nice if there was an easy way to simply export the individual clips from those stringouts? Firing up the simple script “Export-Sequence-Clips” with Automation Blocks allows you to do just that. Watch the Quick Tip above to learn how to export many clips from a Premiere Pro timeline at once.
Caveat
This method uses the source media for exporting these new clips. What that means is that any effects or audio applied to the clips in the timeline will not be rendered. If you’re looking for that functionality, I would recommend checking out Clips Exporter on Aescripts.
Export Using Bin Structure
Export sequences and / or clips while keeping their bin structure as a folder structure.
Quick Shot Logs & Music Cue Sheets
Exports a CSV file of the video and / or audio clip information in a Premiere Pro sequence.
Easy Shot Numbering
Automatically adds shot numbers to a stringout of clips. Includes mogrt and AEP files.
Batch Export Sequence Clips
Creates individual exports for all clips in a Premiere Pro timeline.

