That’s great and all, but I’m just here for the free stuff…
How to Add Text
The folks at Adobe have made it incredibly easy to add text to videos inside of Premiere Pro. In the past non-linear editing software treated text as graphics that had to built inside of a mini-app like windows inside the software. Both Avid Media Composer and Adobe Premiere called this the Title Tool. Apt name for making titles. Premiere kept the Legacy Title Tool (File > New > Legacy Title) in the program, which is nice for making simple graphics inside of the program, like lines or other basic shapes.
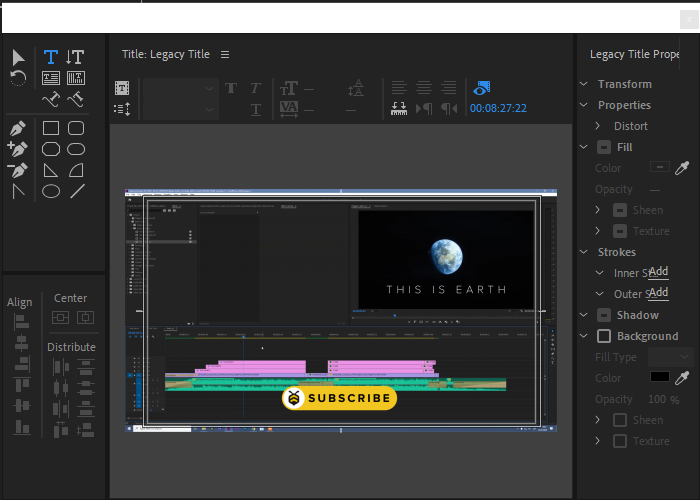
The demands from social media today makes adding text in video basically mandatory, so more flexibility was needed with text than what “titles” could provide. Enter the Type Tool.
Premiere Pro’s Type Tool lets editors intuitively add text straight into the program monitor and also makes it easily editable. Simply click, type your text, and modify it in the effect controls window. You can adjust line spacing, kerning, add shadows and more.
Positioning the text is also as easy as using the selection tool and moving it around. Holding shift while moving locks the movement to horizontal or vertical directions and holding ctrl or cmd snaps the text shapes to points around the window, like horizontal and vertical centers.
When you do decide to animate text on and off screen, keyframing is the best way to go for custom movements. Check out this post for more on how to use keyframes. An easier way uses prebuilt presets for your text animations. These presets can be found all over the web – many times for free – and have already been keyframed for your drag and drop enjoyment. Speaking of, check out the free ones I made at the bottom of this post.
Pop IN/OUT Preset:

This is great for quickly bringing text on screen. For lower thirds and subtitles, I find it looks best around a 100pt font.
Fast Slide Preset

This preset tricks the eye into thinking it’s a much trickier effect than it really is. Looks best on smaller font sizes, around 100pt, and towards the upper third or lower third of the screen.
March to the Beat
The last important note in adding text on screen is brining it on to the beat of the music or when someone speaks, like in my intro for this post.
To get the perfect timing, make use of your audio’s waveforms for a very close approximation and then play things back at full speed.
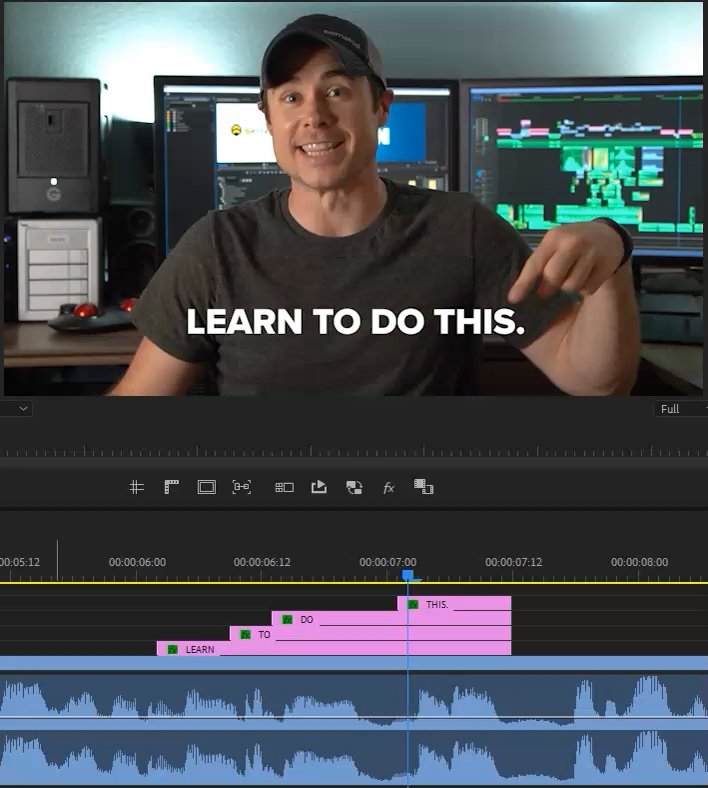
Trust what your eye sees and nudge forward and back until it feels right to you. I typically find that having the animation start just before, like 1 or 2 frames, the beat or word you’re trying to match on screen looks the best.