Take me to the downloads dude!
Prep the Images
Though this method is stupid fast, it does take a minor bit of prep work. It’s also important that the images are framed similarly, have a similar (blank) background, and are lit similarly. Take the images into Photoshop, then scale them, and line up the facial features of each person. Making sure the eyes, mouth, and nose are close to one another is the key to getting good results.
The Face Morph Effect
The magic of the face morph transition comes from DaVinci Resolve’s “Smooth” transition. It’s a vector-based transition, similar to Premiere Pro’s “Morph Cut”, but works much better (and faster). Simply add images to a timeline in DaVinci and slap the Smooth transition between images. You can tweak the transition easing using the editor’s Inspector panel.

It isn’t perfect though and can leave you with some weird artifacts. This is almost a guarantee around the edges of the frame. Some clever masking can smooth those things out and you can accomplish this easily inside of DaVinci Resolve’s Color tab.
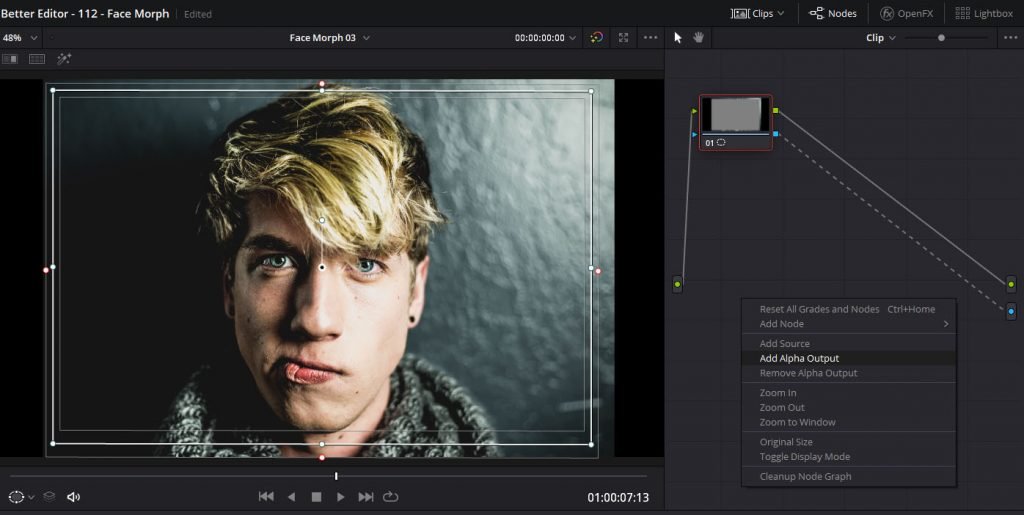
Need some help with Resolve’s masks (also called power windows)? Alex Jordan can help.
Spit it Out
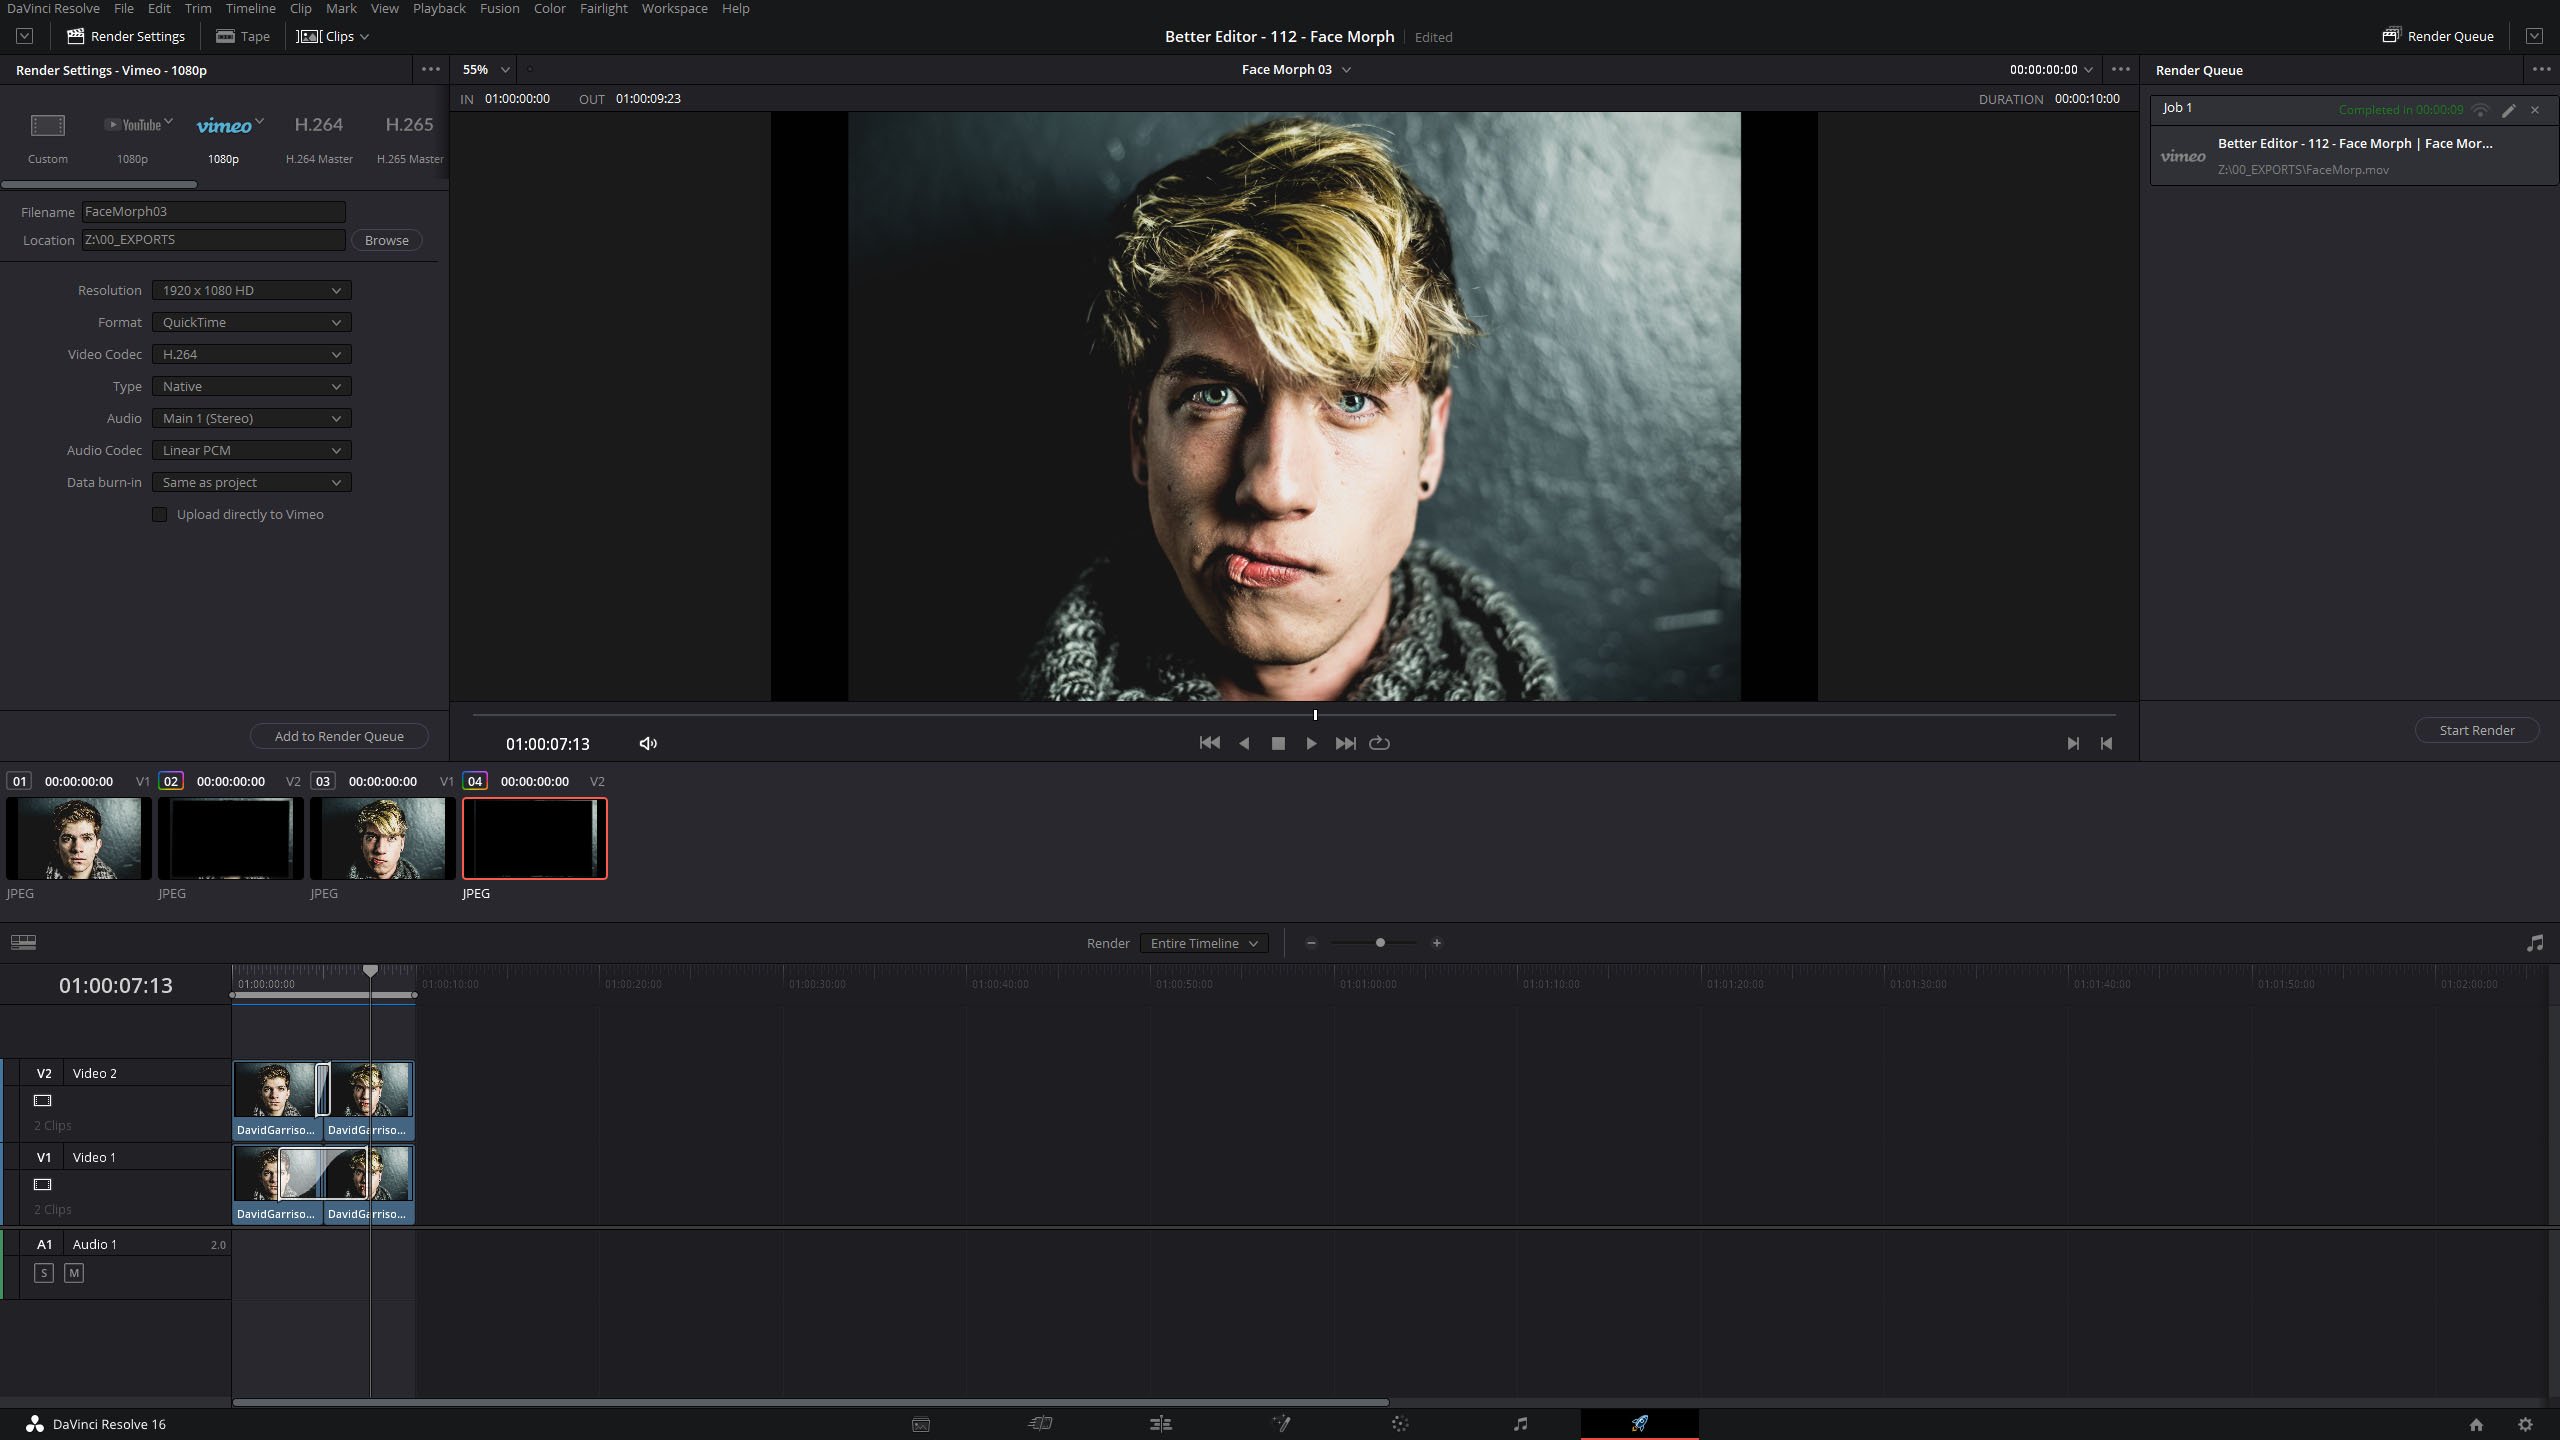
Pumping out the export from DaVinci is as easy as clicking the Deliver tab, selecting a preset (like Vimeo 1080), naming the file, adding to the render cue and clicking start render.