Free footage, music, project files, and lady bugs, oh my!
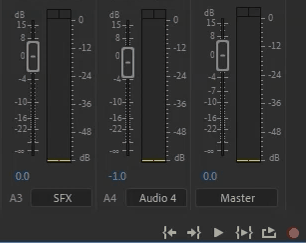
Audio Track Mixer Window
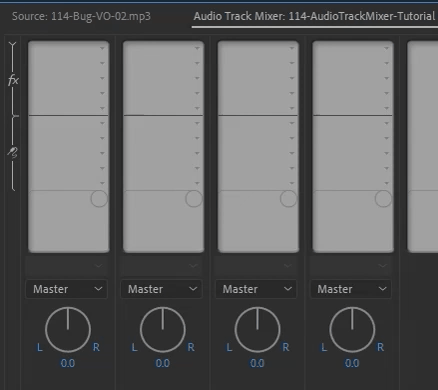
At first glance, the mixer can be a little intimidating. There’s a lot going on – more than we’ll cover in this post – but we’re going to focus on the basics. The first thing to note is that each column in the mixer corresponds to its own audio track in the sequence. At the bottom of the mixer you can double click the column/track name and rename the audio track to something more useful (ex. “Audio 4” becomes “Music”).
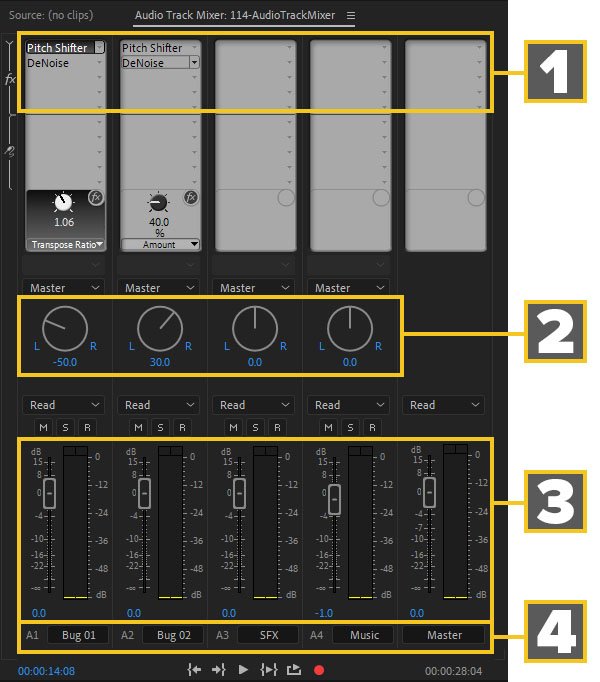
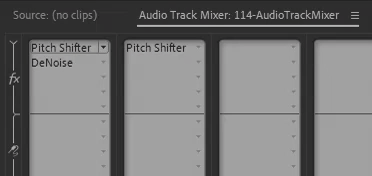
1. Effects Tabs – At the top of the mixer are white tabs with a drop down for selecting audio effects. These effects apply to all audio clips on a given track. Track-wide effects are very useful, especially for applying effects like noise reduction and equalizers.
2. Pan Dials – Pan controls the direction from which audio plays. Turned to the left, and audio plays out of the left speaker. Similarly, audio plays from the right speaker when turned to the right.
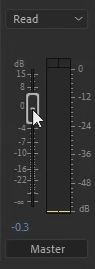
3. Volume Sliders – These sliders control how loud audio sounds on individual tracks, as well as a master track for the overall loudness of the sequence.
4. Track Names – Like I mentioned above, this is where you can easily rename audio tracks in Premier Pro. Whatever is typed here is also reflected in the sequence.
One Effect to Rule Them All
You may be wondering why you would apply a track-wide audio effect instead of copying and pasting the same effect(s) across multiple audio clips. There are two solid reasons for this. Foremost is it’s easier and faster to apply the effect only once, as well as being much easier to edit down the road. Secondly, calling one audio effect instead of many iterations of the same effect are easier on your computer, making it think less, and making Adobe Premiere a much happier program.
Copying and Pasting Audio Track Effects
There comes a time in every editor’s life where they need to copy and paste an effect. It’s not readily apparent how to copy and paste effects in the Audio Track Mixer, but you can easily do it by clicking an effect and dragging it to another open effect slot in the mixer. Not only is the effect copied, but also the effect’s current settings.
Level Up
Managing and balancing audio levels across an edit is an overlooked art. I personally tend to lean into music more as I edit, making dialogue hard to hear. Using the mixer’s volume sliders, I can easily adjust a track of music or dialogue up or down by typing an exact decibel number or moving a slider. If the sliders need to be reset, just double click the slider to make it snap back to zero.
That was a quick trip around the Audio Track Mixer’s basics. Coming up next, we’ll take a deeper dive into the mixer and using submixes!