Take me to the free footage already!
Add Edit – Selected Clips
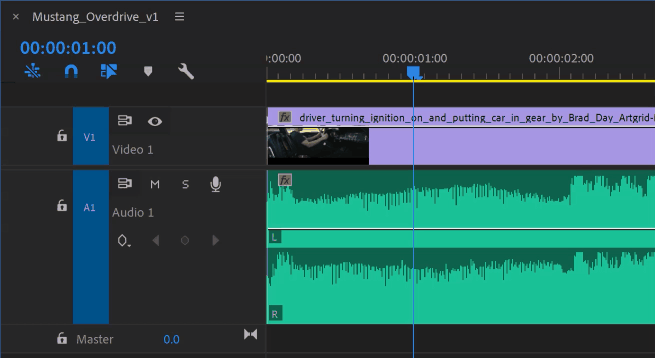
You can use the add edit tool by selecting a clip and hitting your preferred key, G on the Better Editor keyboard. Premiere’s default keyboard has the add edit set to ctrl/cmd+K.

Add Edit – Targeted Tracks
Additionally, you can target your tracks in the timeline and hit your add edit key. This will add a cut at the play head across all targeted tracks.
Bonus Tip
Adding edits and not seeing those nifty little triangles that let you know there’s a through edit? (BTW, a through edit is a cut in a piece of media where no frames have been removed) If you would like to see through edits in your timeline, head to the timeline’s wrench icon and select “Show Through Edits”

That’s all for now. Edit on my wayward son!